
Consequently, we will define chamfer lines that will begin the process of turning them toes into cylinders. Then we chisel to those lines. I'm actually following the 7-5 rule to turn a square corner into a circular corner. The 7-5 rule is pretty cool and is definitely worth knowing. Perhaps I'll post something on the 7-5 rule later.

In the photo above, we see the top knuckle and just below that a pencil line. We will lower the top knuckles of the 2 side toes to that lower pencil line. However, for the center toe, we will raise the top knuckle.

The visual impact is that the side knuckles are lower than the center knuckles - a very nice touch. Before changing the top knuckle locations we will remove most of the wood in the webbing area to make these modifications easier.

It is difficult to tell, but below we can now see the new top knuckle locations. As we define the toes these height differences will become more pronounced. (The photo below is all caddy wampus - whoever took that photo must have just enjoyed a good beer).

We'll start with the back toe. Unlike the front and side toes, the back toe has no knuckles. Below I've rounded the back toe and have started defining the transition to the ball. There are some grain direction changes so one has to go slow and watch the grain very carefully here. In the background you can see a sample ball-n-claw I carved while at North Bennet Street School for a reference piece.


Front toe next...

After chamfering and rounding, I begin to define the "scoop" between the knuckles - going across the grain when necessary to avoid grain reversal issues (and tear out). When going across the grain, I don't just push the chisel - I push and slice back and forth simultaneously for a nice cut. I think that is a 3-20 gouge below. I'm also undercutting where the toes meet the ball to add shadow and visual impact.

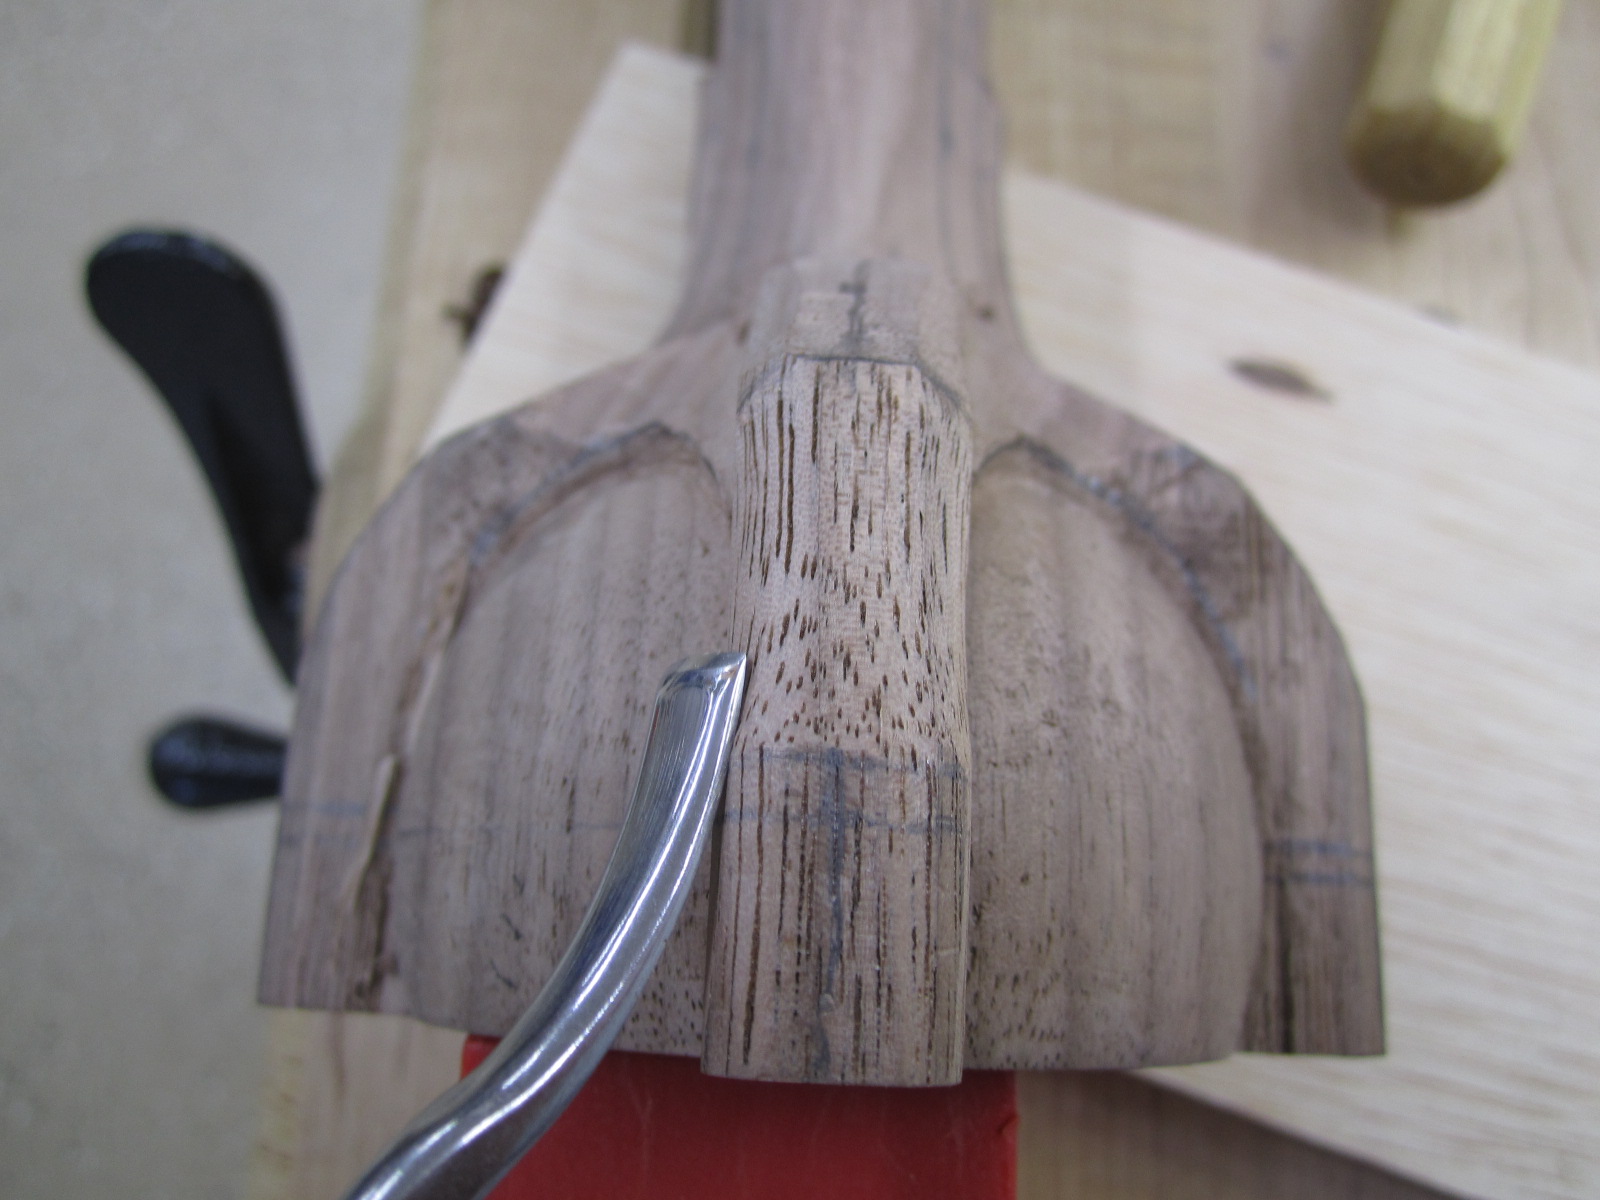

I like the knuckles sharply defined rather than rounded. For the side toes, we do the same thing. However, we need to work a bit more in defining the transitions towards the ankles and the ball. For the transition of the ankle to the cabriole leg I use a chisel, rasp, spokeshave, and a file. A file smooths everything out and also prepares the surface for sanding. Later, when I begin sanding, 120 grit sandpaper will easily remove the file marks.


I also scoop out the knuckles like I did with the front toes.


Next are the nails.


