Pages

Wednesday, November 20, 2013

Greene & Greene Blacker House Office Chair - Part V

I'm currently reading the book "The Road To Wellville" by T.C. Boyle.  Every page has me laughing.  The book is not only hilarious but it is very well written so that I walk away with a slightly expanded vocabulary.  I like books that are both entertaining as well as intellectually enriching.  Watch out in case I decide to toss in some of those intellectual words in this blog.

Back to wood.  In preparation to the first major glue-up there are a few things to do.  First thing is to trim the rear posts.  I cut the bottom of the post about a 1/4" below the rear rail.  I simply use a crosscut saw and then I hand plane an 1/8" bevel all around the bottom post.  For the top, I clamp the seat area well then I mark the distance up on both posts.  Next I run a straight edge across to knive out the location.


I knife around the entire post.  Now, I'm not that good with the hand saw to cut exactly to the line.  Consequently, my game plan is to saw close and then use the shoulder plane to take me to my knife line.  I've done this with cherry and mahogany.  So I leave a heavy 1/64". Well, after a few passes with the shoulder plane (even with a freshly sharpened blade), I realize planing bubinga end grain ain't all what it's cracked up to be.  So I decide that I will use a router jig later to even the top.

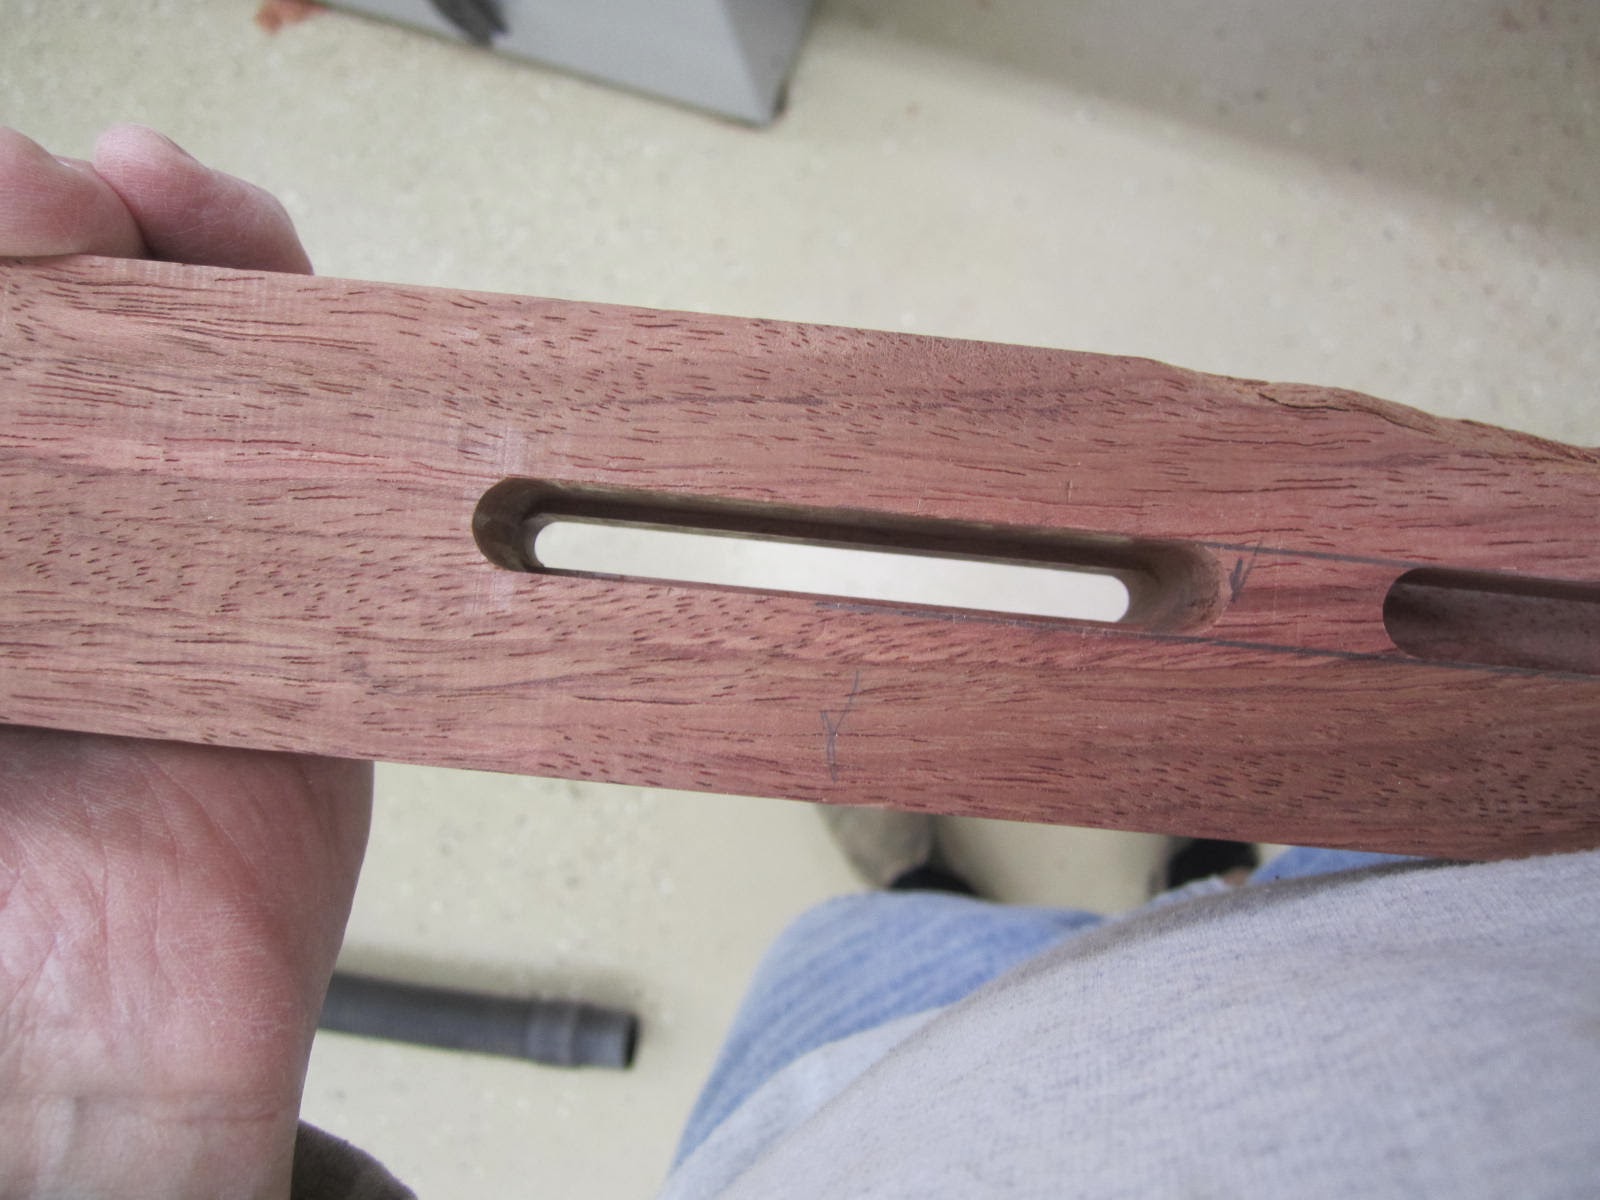
I'm using a floating tenon to connect the rear post to the crest rail.  I will cut the mortise in the top of the post before glue-up:


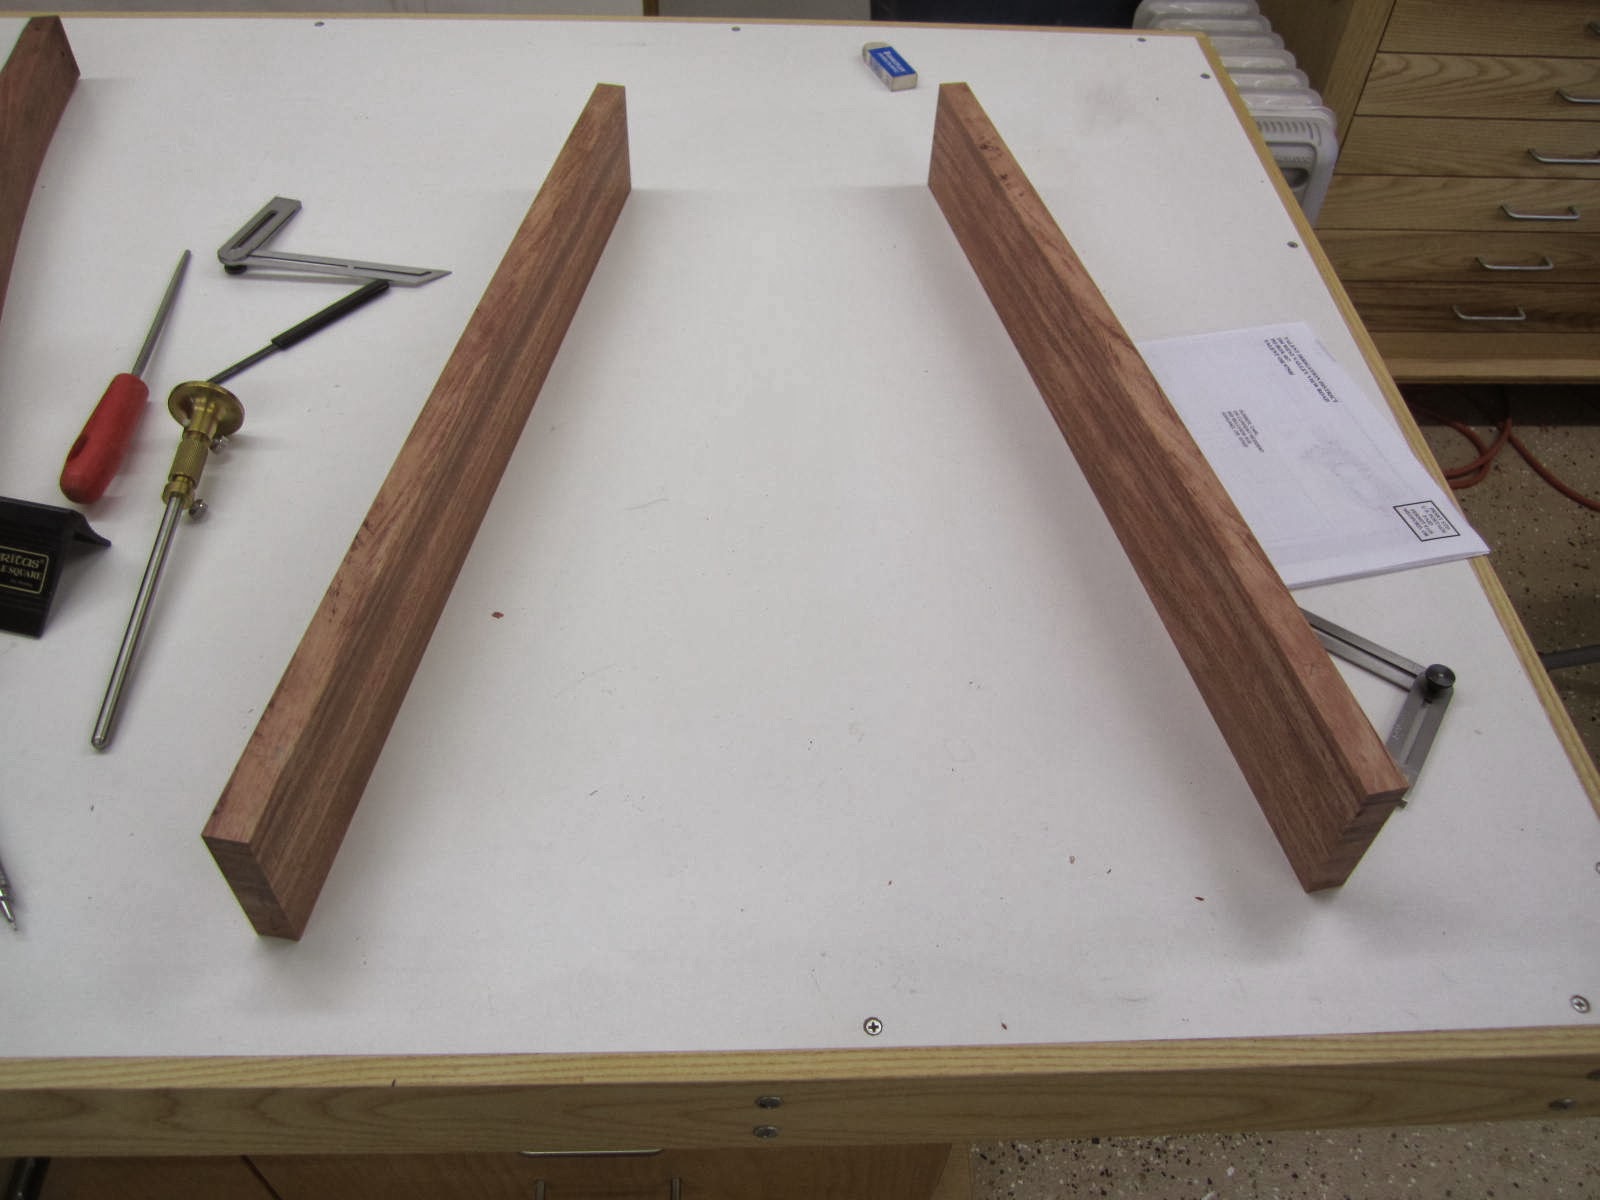
The next thing I need to do is touch up the side rails.  Because the rear posts have a cant angle the side rails meet the rear posts somewhat caddy wampus:


I need to hand plane a wind in the side rail so it meets the rear post with an even reveal.  I determine how much I need to remove and mark out the bottom of the rail:


Now I start planing a wind in the side rail.  I then sand the piece to 180 grit to smooth out the transition of the wind.  If you plane well, it has an Escher quality about the look - the front is straight up and down while the rear post has a cant - yet the rail appears flat.


So, I sand everything to 180, careful not to sand the joinery areas (we want those areas flat - they were hand planed earlier so no prep sanding is required here).  Next I make some wedges for the through tenons:


Glue up!  First I glue the posts to the rear rail:


Next I glue the side rails to the rear posts.  This requires some angled cauls to counter the splay angle of the side rails and give the clamps a 90 degree surface at both ends - and the cauls need to navigate the box joint fingers up front and the through tenons in the back.


To drive the wedges in, I had to clamp everything down and get things tight, then I briefly removed the clamp to drive in the wedges after which I re-applied the clamps.  Oh yes, I did one rail at a time.  I did not try to glue both rails at the same time.

The front rail required some head scratching and some series clamp yoga:


The cauls up front had to navigate the protruding fingers as well.  For glue ups I generally remove the glue immediately and wipe down repeatedly and vigorously with damp cloths and a toothbrush to get into the grain.  Whew!  Glue-ups are always somewhat tense.  After everything has dried I cut the through tenons down with a small flush trimming saw leaving them a bit proud.  I'll round over the tenons later with sandpaper.


Now I'll go ahead and work on the seat innards.  The swivel assembly will attach to the seat via two 1"x3" rails.  These two rails will be glued and screwed to the underside of the front and rear seat cleats.  The front and rear seat cleats are also 1" thick and glued and screwed to the rails.  In fact, all the cleats are glued on eliminating the need for rabbets into the rails.


Before gluing the two 1" swivel rails I need to drill holes for where the swivel hardware attaches to these rails.  I first make a drilling template with some 1/4" hardboard to define exactly where those holes need to go.  I dry fit the swivel rails in the seat and mark out the hole locations with a 5/16" drill bit.  Then I take the rails to the drill press to drill the 5/16" holes.  Then I glue and screw those rails on.  Those rails add a tremendous amount of strength and rigidity to the seat.


This pile of wood is finally starting to resemble a chair!  Progress seems to come in leaps.  I work for awhile (and sometimes a long time!) on various details but not feeling like I'm accomplishing a whole lot when suddenly, wham, the project takes a leap forward.


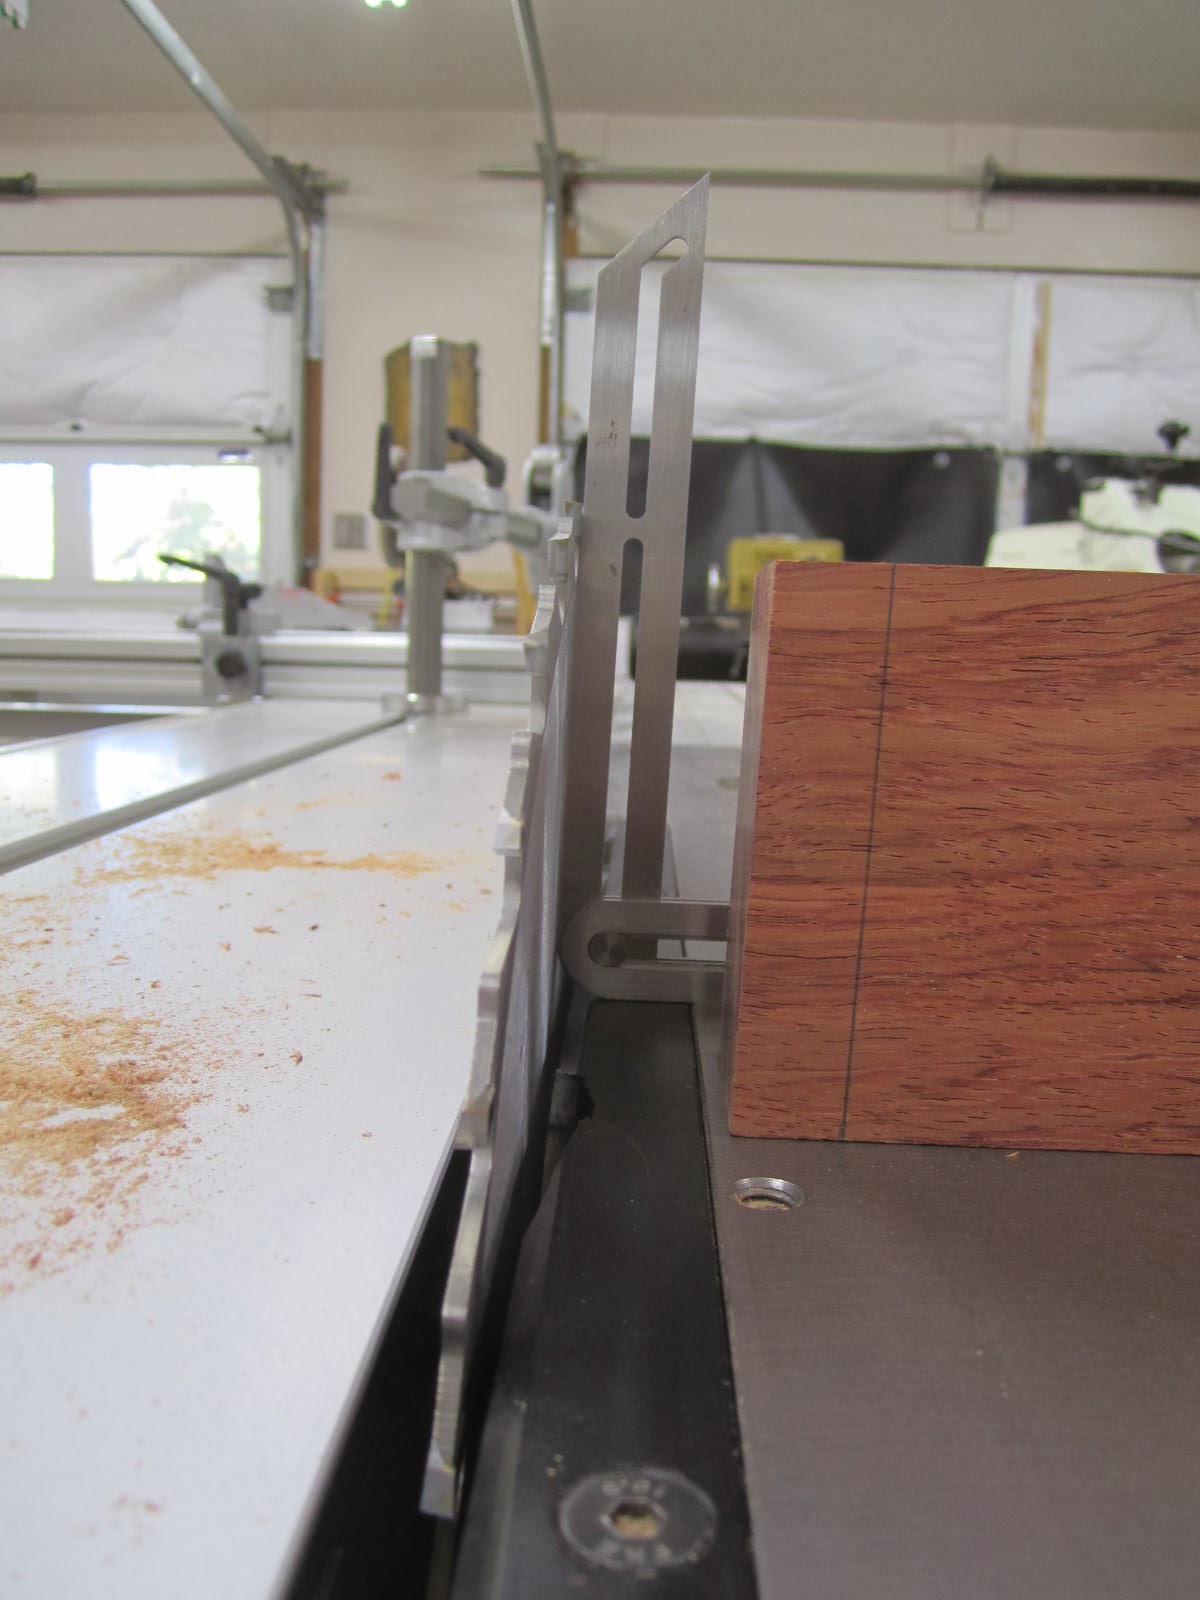
Ok, back to the rear posts.  I need to level out the tops with a router (since I wimped out with my hand tools).  I made this jig to help:


This jig worked extremely well!  I'm using the ruler in the photo above to line up with my previous knife marks.  I'm taking very little off here, just skimming the surface.  I then made some maple floating tenons with the bandsaw and small Jet 10-20 drum sander:


Good time to call it quits here.  The next blog will be about the crest rail and the back - a lot of work still ahead before the next major leap forward.

Thursday, November 14, 2013

Greene & Greene Blacker House Office Chair - Part IV

"AUTOINTOXICATION"  - The state of eating too much Halloween candy.

Rails:  The joinery for the back rail is straight forward.  Here is the rail cut to length with the tenon locations penciled at the end (they are 1/2" thick and 5/8" long tenons):


The ruler above shows the cant angle for the rear posts - about 2 degrees.  Now, that cant angle is important for when I cut the side rail tenons.  At this time I will rip a thick piece of scrap wood with one side cut at the same cant angle.  Below is a shot of the rear rail next to the saw blade angled with the cant angle.


Below is the end view of the scrap wood ripped with one side cut at the cant angle:


Now, this scrap wood was milled to the same width as the side rails.  We will come back to this scrap wood shortly.   We will be using it to cut the tenons for the side rails.

However, back to the rear rail.  I did not take any photos cutting the rear rail tenons.  In a nutshell, I used the multi-router.  I also used the multi-router to cut the 1/4" mortises for the plethora of splats.  Then I took the rear rail to the bandsaw and cut the back decorative profile followed with a file, shoulder plane, and sand paper for cleanup:


Now to the side rails.  These will be more complicated!  The side rails will have a compound angled tenon in the back and angled box joints up front.  The tenons will be compound angled because the side rails splay outward and the rear posts have that 2 degree cant angle as well.


Using my drawing, I determine the splay angle and the corresponding angle required to cut the end of the front rail:


I cut the rails to length with the front angled:


Ok, here comes the tricky part.  The tenons in the rear of the side rails must be accurately laid out!  To lay out compound angle tenons it is important to start at the top shoulder and work around.  For straight tenons we normally layout the tenons at the end of the rail.  But for angled tenons we start at the top shoulder.


From there I mark out the end of the tenon using a bevel gauge adjusted to the cant angle, careful to distinguish left vs right rail:


Then I mark out the bottom of the tenon:


Now, do you remember that scrap piece of wood we ripped earlier that is the same width as the rails with one side cut to the cant angle?  Now is the time to use it:


In the photo above we see the rail on top of the scrap wood.  I glued on 1/4" plywood to the sides.  The side that was ripped at the cant angle is facing down (important!).  What that scrap wood does is tilt the side rail so that the angled tenon is no longer angled but rather parallel to the table surface (or what ever surface - such as a table saw fence).  Also note that to cut the other rail one will use the other side of this scrap wood so the angle is reversed for the other rail's tenon.


Now I take the whole assembly to the multi-router.  The multi-router table is tilted to the splay angle of the rear rails which defines the second angle of the compound angled tenon.  Note that one could use a table saw or bandsaw here with an angled blade and ride the assembly against the fence


Now, before cutting the real tenons, I used a test piece to set my mulit-router end stops for the tenon thickness.  I first cut the whole tenon to 3/8" thickness and test the fit in a scrap piece with a 3/8" thick mortise.


Then I define the two 1/4" through tenons and then test that fit in a mortise that has both the 3/8" thick part and 1/4" part:


Once I'm satisfied I cut the real McCoy.  Since I will be inserting wedges into the through tenons I need to taper the end of the mortises in the rear post.  I usually go out 1/16".  That is the gap you see above and below the through tenons in the photo below.


Here is the chair assembly dry fitted (note that the rear posts appear heavily angled but this is due to the wide angled camera lens):


Now, for the front rail, we first must determine the length:


The box joint ends will stick out about an 1/8".  I layout the box joints on the side rails and front rail using a caliper:


When cutting the box joints I did not use a box joint jig. I simply cut the side rail box joints to the pencil line then cut the front rail box joints using trial and error with a test piece for fitting.  I used the multi-router since I had the table all set up with the proper splay angle for when I had cut the tenons earlier.  The router bit also left a very nice bottom.  A dado blade would suffice but dado blades tend to leave rabbit ears.  (One of these days I'd like to get a box joint cutting blade with a flat top).

I got all the joints fitting well except for one (there is always that one!).  I glued on a shim and tried once more:


I then beveled the ends of the box joints.  I used a file. One thing to note about this piece.  Traditional Greene & Greene furniture uses a lot of heavy round overs.  I am breaking from tradition here using very light round overs and beveled edges.  Just for the hell of it.


Good time to call it quits.  Now, where did my wife hide the Halloween candy...