Merry Christmas and Happy Holidays!
The splats for this chair definitely take some time. After getting the splats fitted and shaped we now need to spruce them up a bit with some classic Greene & Greene pizazz. We'll do the tabs first.
Based on my drawing, I locate with a knife and small square the top and bottom of each tab mortise - 16 mortises in all. These mortises are 1/4" wide and 1 1/8" long for the 4 inner tabs and 1 1/4" long for the 4 outer tabs. The tabs are recessed 3/16" from the front face of the splat. Because the sides of the splats are all curvy without a good reference edge I find that the handy mortise marking device shown below works well - two thin strips of wood secured on each end to give me a 1/4" width space for marking out the mortise with a knife. I clamp the top and bottom of the jig to the side of the splat and use a marking knife to scribe the sides of the mortise. I start with the large splat first.


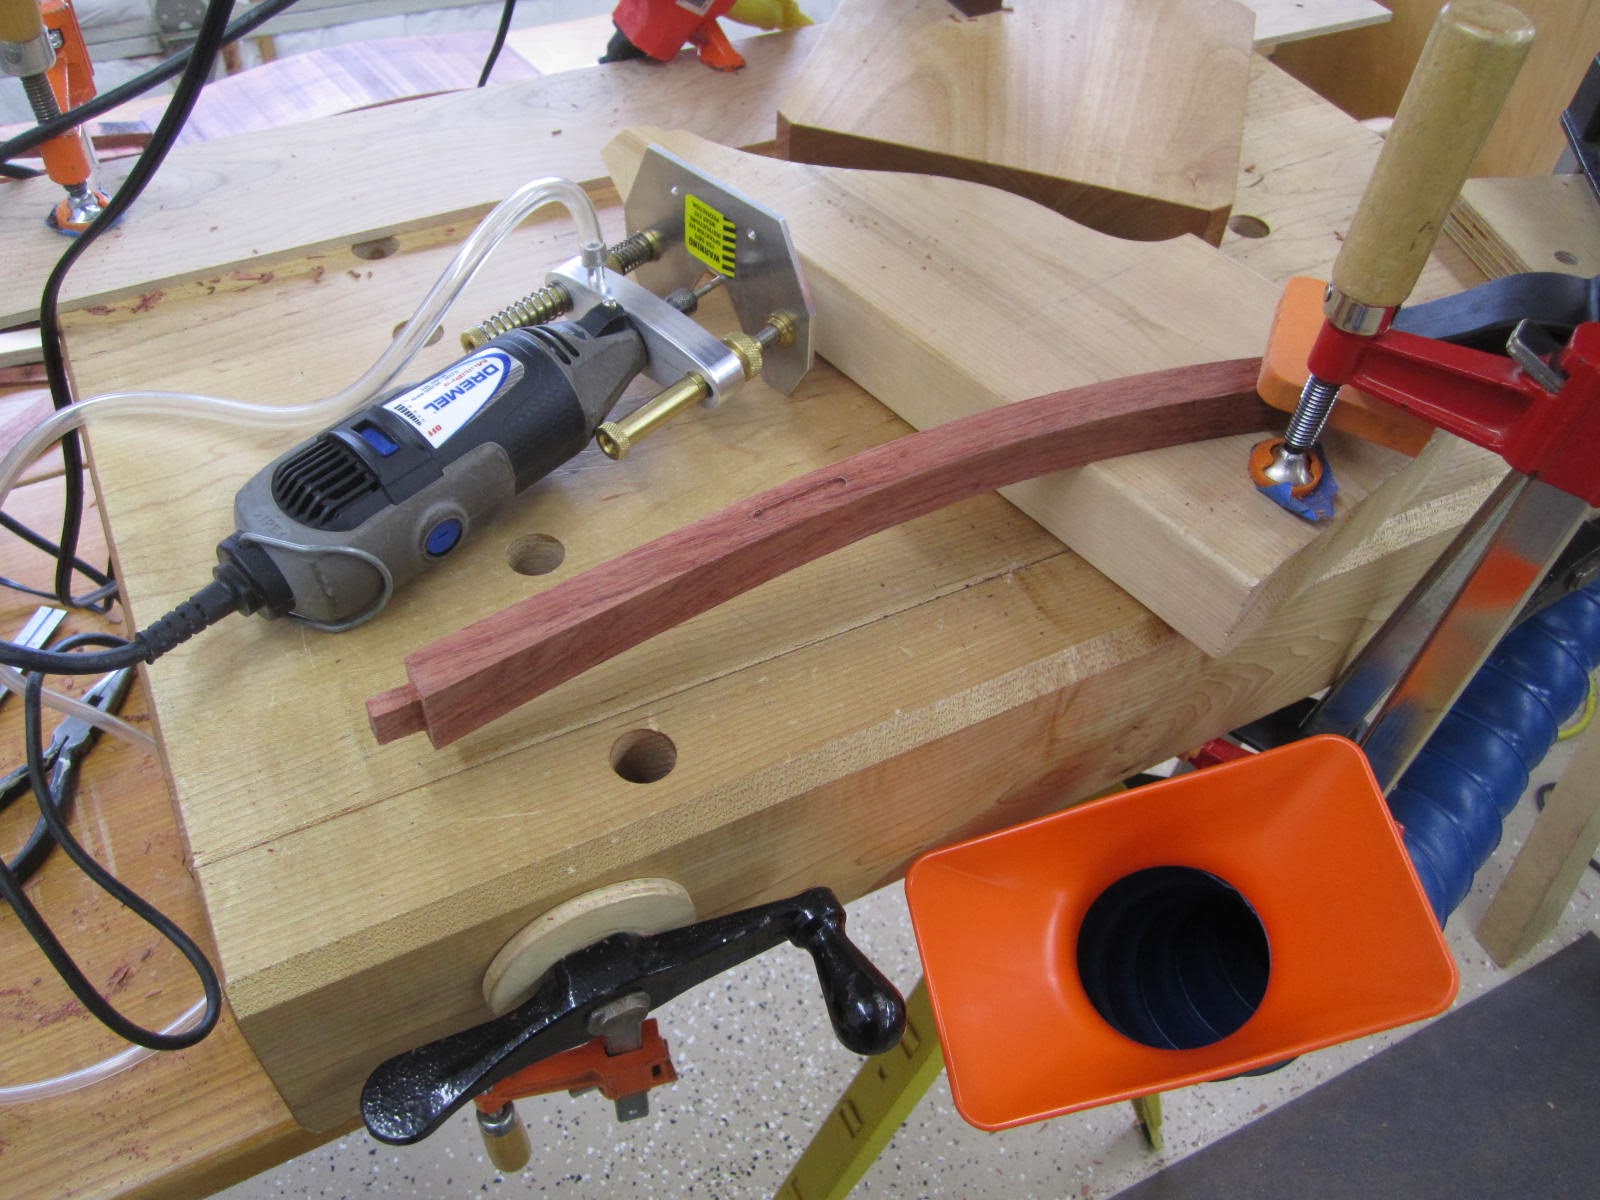
I chopped the first mortise by hand but then quickly decided to use the dremel with a small 1/8" downcut spiral bit for the remaining 15 mortises (purchased from www.stewmac.com). I'm going about 1/4" deep here as I recall:

I make the tabs with a bandsaw and run them through the small drum sander to the desired thickness and hand plane the edges for final width. However, they are kept extra long for now. I'll adjust the length later.

Here I've got the 4 inner tabs fitted to the large inner splat:

Now we need to fit these tabs to the adjacent small splats. I've got the top and bottom locations of the mortises marked out on the small splat. However, I do not know exactly where they will line up length wise. Consequently, I install the small splats and use the tabs directly to locate the mortise locations. I first clamp the top to make sure the splats are properly lined up:


I make sure that I am about 3/16" from the front. I use a pencil to locate the mortise. I then line up my mortise jig and use a knife to scribe the mortise location:

I follow this process (which does take some time) till we get all the tabs fitted. The tabs need to be cut length wise for the final fit. Oh yes, for the 2 small splats that have tabs on both sides I go only about 3/16" deep with the mortise so as not to weaken the splat.
Here are what the tabs look like in their final state:

And here is what they look like installed:

Now its time to work on the negative spaces. As I've mentioned before, the Greene brothers were masters with the use of negative space - which is just as important as the space occupied by the wood.
Here I am hogging out some material with the drill press:

Then I use the chisel to clean the edges:

For the two squigglies I use the dremel and a file:


I'll show the inlay process in a separate post as there are a lot of photos in that.
No comments:
Post a Comment